How to Make Ghee at Home
Ghee, or liquid gold, is a kitchen staple, especially in South Asia. Its rich flavor and high smoke point make it versatile. Making ghee at home is economical, and it tastes better than store-bought. Watch the Video Tutorial below.
What is Ghee?
Ghee is clarified butter that’s been simmered longer, allowing the milk solids to brown, resulting in a deep, nutty flavor and golden hue. Unlike regular butter, ghee is lactose-free and has a higher smoke point, making it ideal for high-heat cooking.

🛒 Ingredients
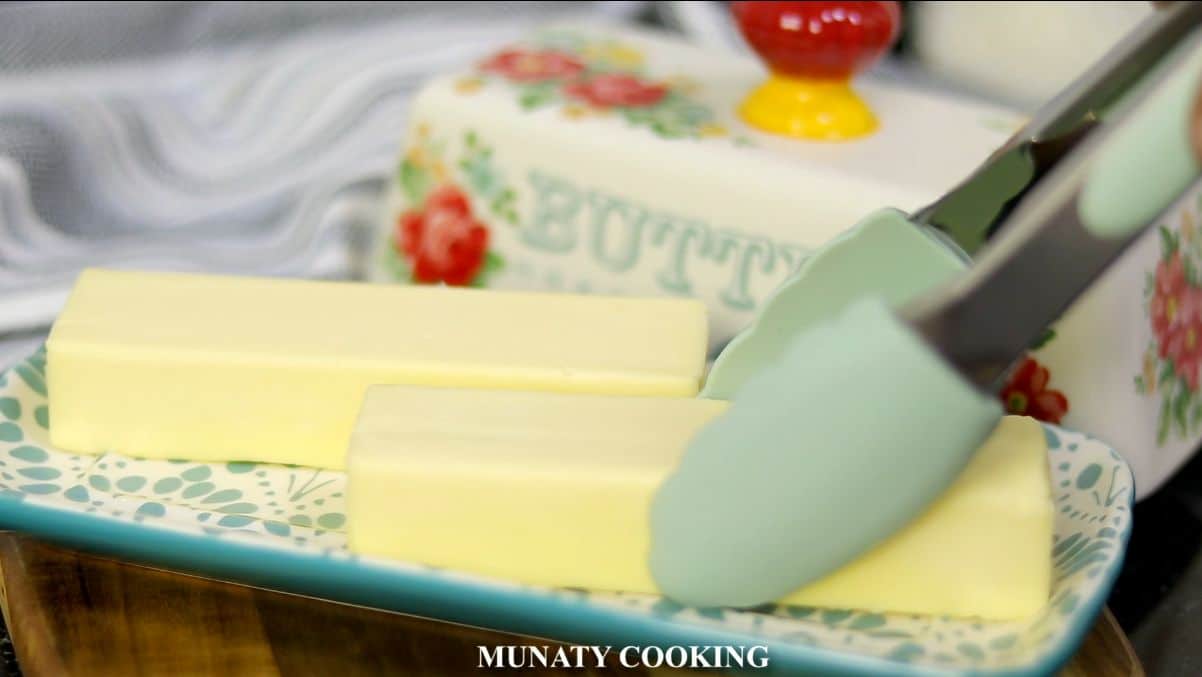
Unsalted Butter: Preferably high-quality or grass-fed for the best flavor.

Equipment Needed
- Clean, dry glass jar with airtight lid.
- Heavy-bottomed saucepan
- Fine mesh strainer or cheesecloth
Step-by-Step Guide to Making Ghee
Below are detailed step by step images showing you how to make ghee from butter in a simple way and short time.
Step 1
Melt the Butter: Place the unsalted butter in a heavy-bottomed saucepan over medium heat. Allow it to melt completely.

Step 2
Simmer: Once melted, reduce the heat to low. The butter will begin to foam. Let it simmer gently.


Step 3
Monitor the Color: As it simmers, the milk solids will separate and sink to the bottom. The butter will turn a golden color, and you’ll notice a nutty aroma.

Step 4
Strain: Once the milk solids have browned and the liquid is clear, remove from heat. Let it cool slightly, then strain it through a cheesecloth or fine mesh strainer into a clean jar.

Step 5
Store: When the ghee cools completely seal the jar. Store at room temperature for up to 3 months or refrigerate for longer shelf life.
Tips for Perfect Ghee
- Use Unsalted Butter: This ensures a pure flavor and longer shelf life.
- Low and Slow: Simmering on low heat prevents burning the milk solids.
- Watch Closely: The transition from golden to burnt can happen quickly.
Uses for Ghee
Traditional Dishes: Essential in many Indian and Middle Eastern recipes, like Donne Biryani, Mutton Nihari, and Bamya (Okra and meat).
Cooking: Ideal for sautéing, frying, and roasting due to its high smoke point.
Baking: Adds a rich flavor to baked goods.
Spreading: Use as a flavorful spread on bread or toast.

FREQUENTLY ASKED QUESTIONS
Ghee and clarified butter are similar but not exactly the same. Clarified butter is butter cooked on medium heat until the milk solids separate from the fat, whereas ghee is cooked longer until the milk solids turn brown and sink to the bottom of the pan. This gives ghee a more transparent, golden color.
It is recommended to use unsalted butter when making ghee. If you use salted butter, the final product may have a salty taste which could affect the flavor of your dishes.
While cooking ghee, it is important to avoid stirring and to not let the spatula touch the bottom of the pan. This allows the milk solids to brown and sink to the bottom, which is a key step in making ghee.
If your ghee changes color to white or much lighter than its original golden color, or if it develops a sour taste or smell, it is best to discard it. These changes could indicate that your ghee has turned rancid.
No, it’s not dairy-free, but good news for those who are lactose intolerant: it has a lesser amount of lactose than what is found in butter!
Why You’ll Love Homemade Ghee
Making ghee at home is straightforward and rewarding. The process fills your kitchen with a delightful aroma, and the result is a versatile ingredient that enhances the flavor of many dishes. Plus, it’s a healthier alternative to many cooking fats.
Watch me Make Ghee

Get new recipes in your inbox. Join our community.

How to Make Ghee
Ingredients
- 1 cup unsalted butter
Instructions
- In a saucepan, preferably a pan with a heavy bottom, add the butter and let it melt entirely on medium heat. Let it come to a boil and then reduce the heat to medium low.
- A thick white foam will form at the top but will reduce to small transparent bubbles. Occasionally pull the foam to the side of the pan to make sure that milk solids at the bottom of the pan are not burning.
- When the melted butter turns into a transparent, golden color, and the milk solids are now brown and have sunk to the bottom of the pan, then your Ghee is ready. Turn off the heat.
- Some foams might still float over the Ghee, but it will disappear gradually when the Ghee cools. Or you can remove it with a wooden spoon.
- Wash and dry a heatproof glass jar with an airtight lid.
- Place a strainer over the opening of the heatproof jar. If the Ghee is still hot, then use a ladle to pour the Ghee through the strainer. Always be careful when you pour hot liquids.
- Let the Ghee cool completely and then close the lid. Never close the lid while the Ghee is warm or hot; the steam trapped in the jar will make the Ghee turn rancid in a short time.
- Keep the Ghee over the counter for up to 3 months after opening the jar or store it in the fridge for up to a year.
I use to get store bought ghee all the time. Till recently due to lockdown our Indian store was out of ghee. We made it at home. It taste just like store bought. We use it all the time now. Munaty loved your golden color ghee. Ours turn brown. Thanks for sharing all the tips.
The lockdown changed us in so many ways, I guess mostly in a positive way though 🙂 Thanks for your kind comment!